|3 min. read|
The best hosting investment I have made to date was butcher paper!
It’s affordable, versatile, easy to store, and makes the perfect blank canvas for oversized, custom party decor. If you’re looking to create a bold, themed statement piece without spending a fortune, a DIY Wall of Faithfuls is the perfect project.
This DIY is quick, easy, budget-friendly, and delivers major impact.
Why a Wall of Faithfuls?
Whether you’re hosting a Traitors party you have to have the wall of faithfuls to dramatically eliminate each player like the host of Traitors US! Beyond its dramatic flare it acts as:
- An immersive experience for your guests
- Helps guests keep track of who is in the game
- A dramatic opportunity to reveal the traitors target
And the best part? You can reuse this for your next party by simply replacing the frames!
Tip: Add a name tag to each frame! I mixed my group of friends and some people weren’t the most familiar with each other and would have helped them to remember who’s who!
What You’ll Need 🛠️
- Butcher paper (sized for your wall)
- Paint (black or your theme color)
- Paint brushes
- Cardstock (glitter or solid)
- Printer
- Pencil & tape measure
- Tape or glue
- Cutting machine (optional but helpful)
Budget Tip💲: Reuse materials whenever possible. I used leftover glitter cardstock from old Christmas cards for my title letters. Dollar store paint and brushes work perfectly fine for this project.
Step 1: Plan Your Layout 📏
Before you start designing, decide:
- How wide and tall you want your display
- How many “frames” you need
- How much wall space you’re working with
For example, a 6.5-foot butcher paper backdrop can comfortably fit 7 rows of 3 frames, measuring 7” x 7.5”.
Sketch it out roughly so you don’t run into spacing issues later.
Step 2: Design Your Frames 🖌️
Using a design platform, create your frame template on a standard 8.5×11” sheet for easy printing. I made mine approximately 7”x7.5” square.
Keeping everything uniform makes the final wall look polished and intentional.
Print your frames at home or at a local print shop if needed.
Step 3: Create the Title Section ✒️
This is what really makes it pop.
- Measure and lightly mark where your title will go.
- Paint a rectangle behind the title (black creates a bold, dramatic look).
- Cut your letters out of cardstock, you can do this by hand or use a Cricut.
- Glue the letters onto the painted rectangle once dry.
The layered effect instantly gives your wall a professional finish.
Step 4: Assemble Everything 🪚
- Lay your butcher paper flat.
- Measure and mark where each frame will go.
- Tape or glue the frames onto the paper.
- Hang it up using clear scotch tape or mounting strips.
- I used scotch tape and am sure to be gentle when removing the tape at the end of the event
Lastly, step back and admire your work because it’s going to look GOOD✨.
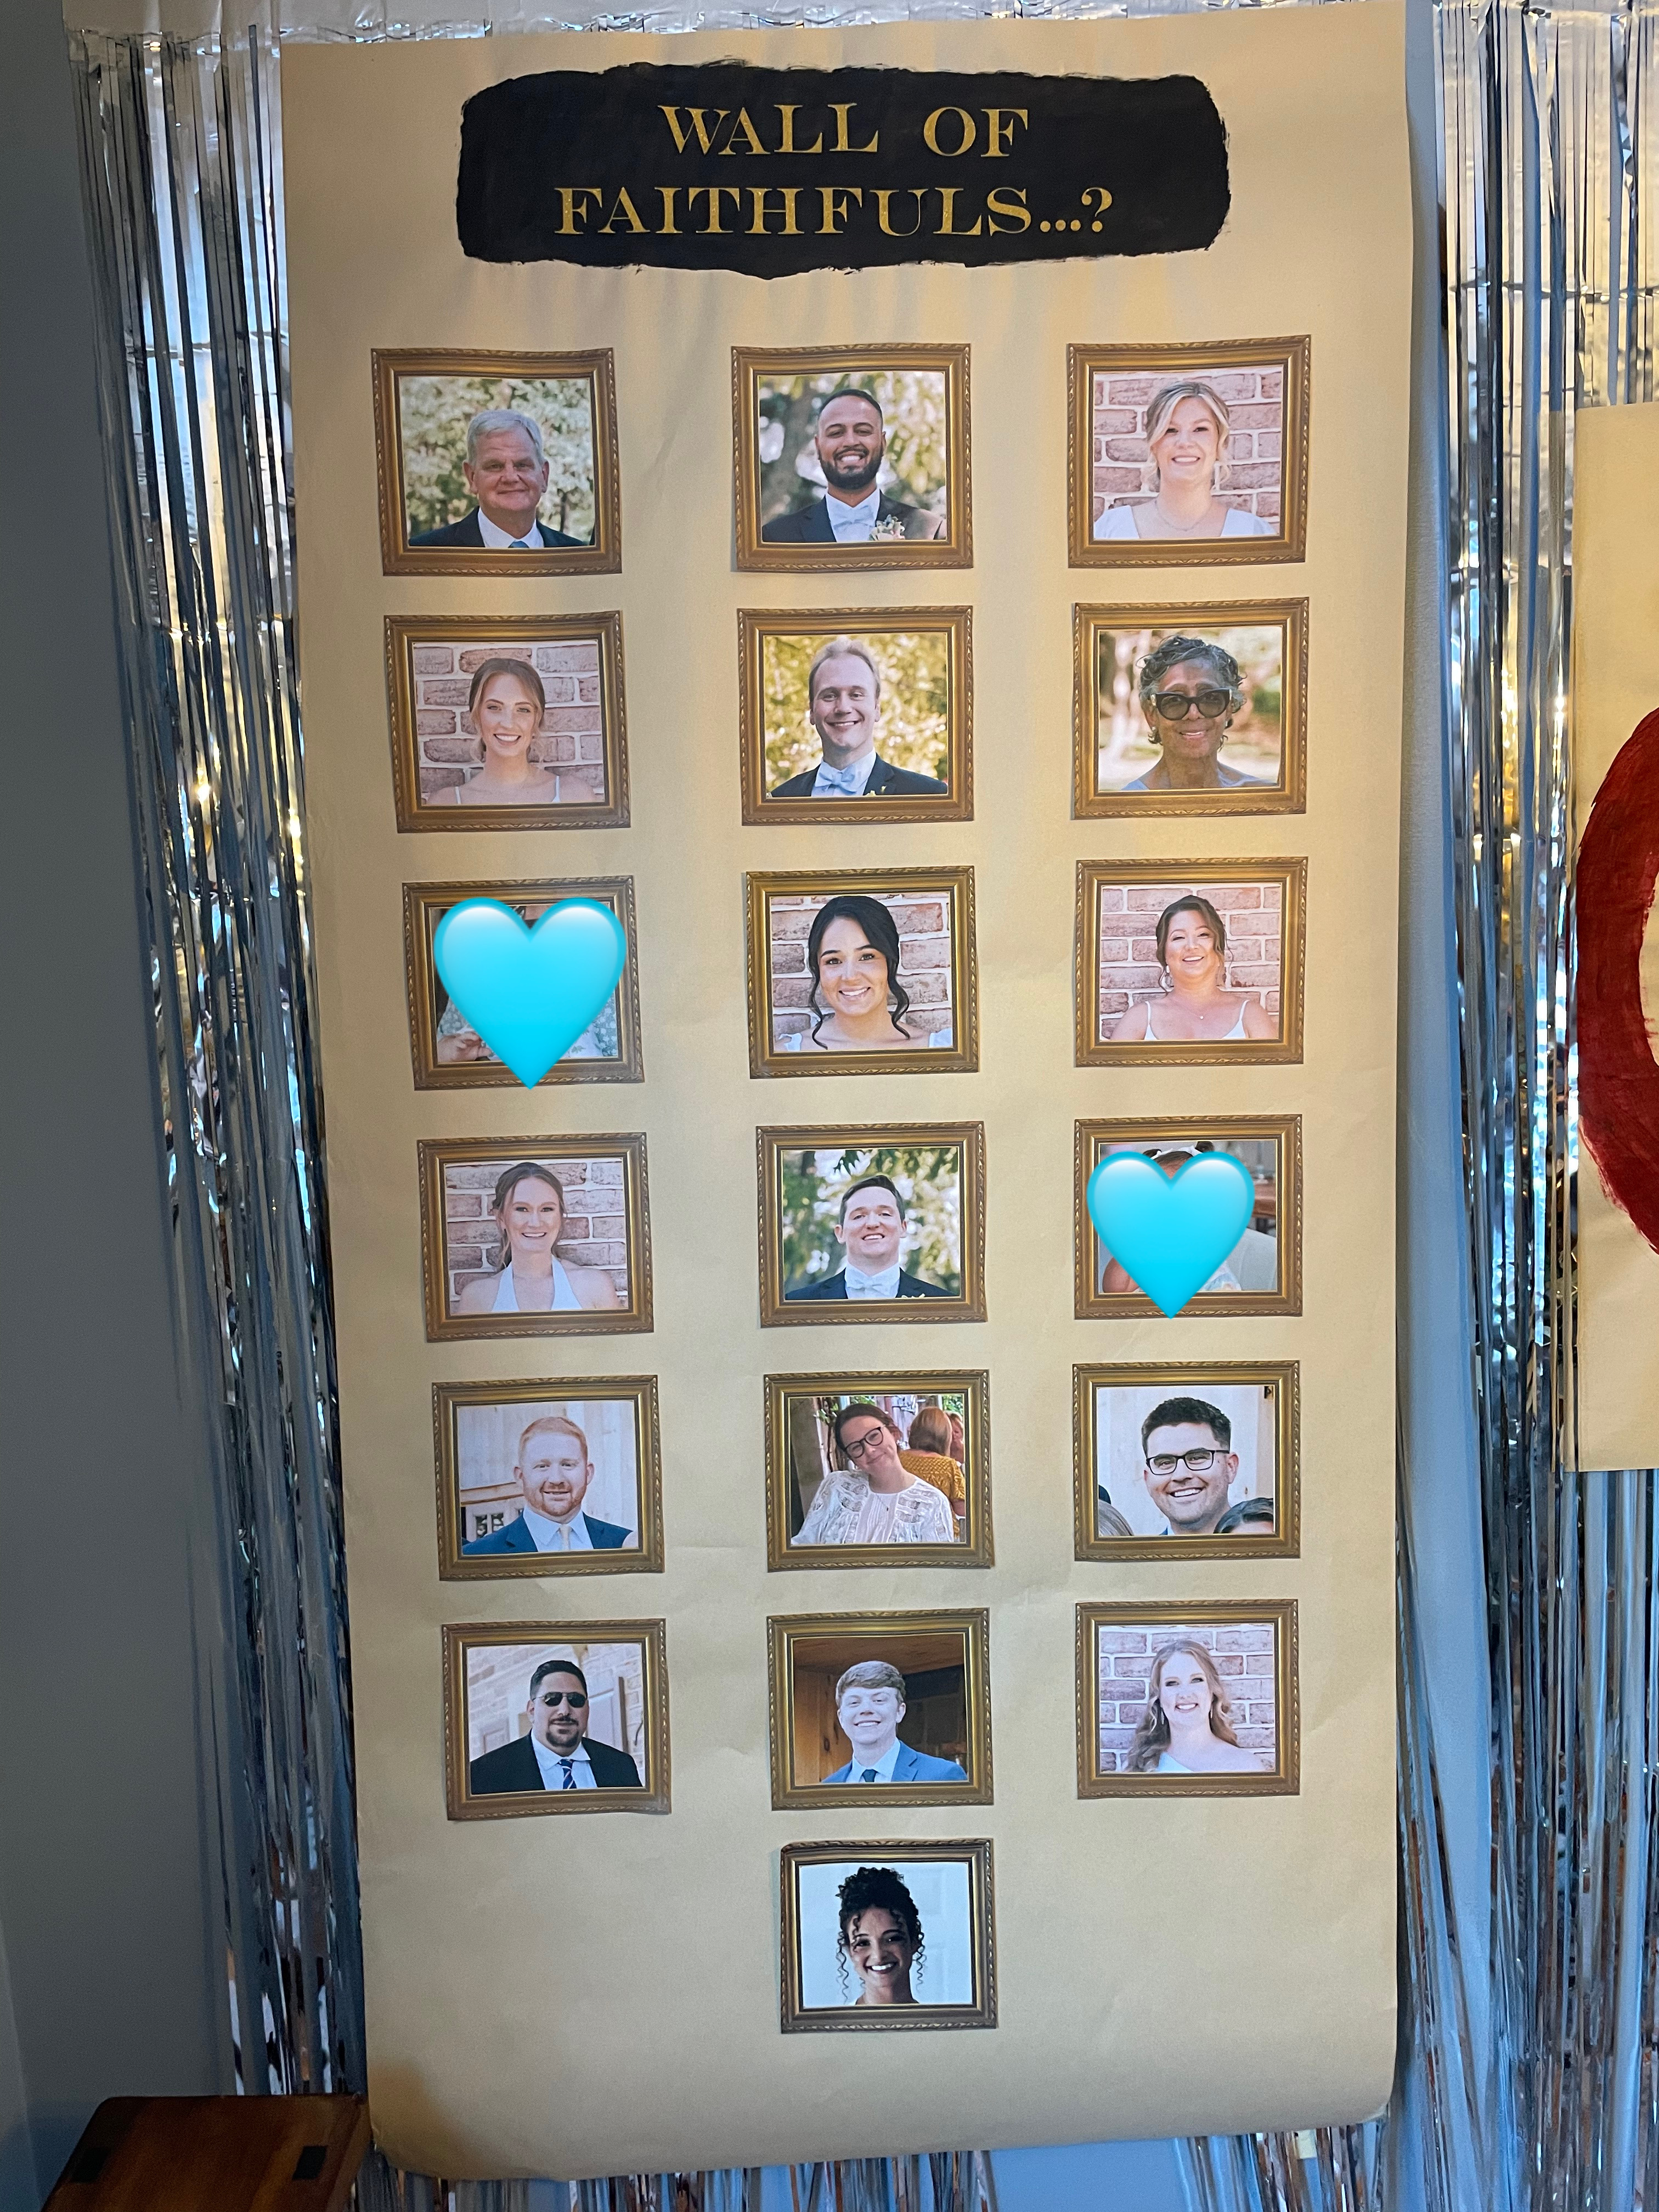
The Final Result
You now have a custom, handmade, high-impact Wall of Faithfuls that looks like it was made with love!
It’s:
- Budget-friendly
- Customizable
- Scalable
- Easy to recreate for future events
And honestly? It’s one of those decor pieces that people will snap pics or and reference all night.
If you recreate this DIY, I’d love to see how you personalize it!

Leave a comment